Launching a WordPress site (or even a single new landing page) is the moment templates love to betray you: a missing font file, a broken header, a caching conflict, a form that doesn’t submit, or a tiny mobile spacing issue that tanks conversions. The fix isn’t “work harder” — it’s having a repeatable maintenance checklist you run before you hit publish.
This post is for anyone building with WordPress + Elementor (or any theme builder) who wants fewer surprises after launch. You’ll get a template-friendly pre-launch maintenance routine you can copy, plus a lightweight cadence you can keep running weekly without turning maintenance into a second job.
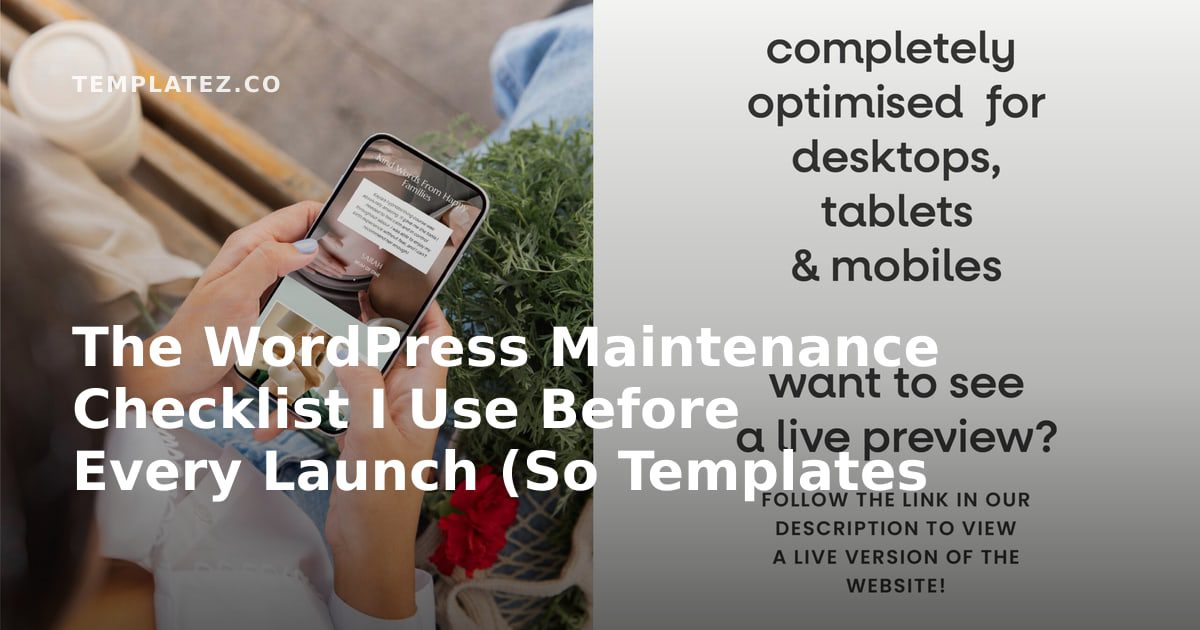
And if you want to stop rebuilding the same pages over and over, browse templates you can adapt fast, then polish using the checklist below. If you’re building with Elementor, you’ll recognise a lot of these checks as “small” — until they compound.
What “maintenance” actually means for template-based WordPress sites
See also: 90s Retro Instagram Template Bundle.
See also: Business Templates.
See also: How Use Our Instagram Canva Templates.
See also: How You Can Use Canva Templates.

In a template-first workflow, maintenance isn’t only updates. It’s ensuring your layout system (theme, Elementor templates, global styles, and reusable sections) keeps behaving as you add content, new plugins, and marketing scripts. A good maintenance checklist protects:
- Uptime (no white screens, no fatal errors)
- Speed (Core Web Vitals don’t degrade over time)
- Consistency (global styles still match your brand)
- Security (no easy entry points)
- Conversion flow (forms, checkout, tracking, and CTAs still work)
Before you start: clone the site (or at least create a rollback point)
Every checklist starts with one principle: make changes reversible. For a client site, use staging; for your own, a quick backup + a clear change log is often enough.
- Create a full backup (files + database) and confirm you can restore it.
- Note what you plan to change: plugin updates, template edits, new scripts, etc.
- If possible, test on staging, then deploy to production.
If you don’t have a staging workflow yet, consider building your next project using reusable layouts and sections so you can launch faster and leave more time for QA. Start with a solid base from WordPress templates and customise from there.
1) Update smart: prioritise risk, not “update everything”
Updates are the #1 cause of “it worked yesterday” issues. But skipping them is worse long-term. The goal is controlled updates:
- Security updates first (WordPress core, critical plugins).
- Template-layer updates next (theme, Elementor, template add-ons).
- Then nice-to-have tools (minor plugins, UI helpers).
Tip: If Elementor (or your theme) is a big version jump, update it on staging, open your key templates, and check global styles + header/footer before you touch anything else.
2) Run a “template integrity” sweep: header, footer, and key pages
Most launches break in predictable places: header overlap, sticky elements, mobile nav, or a footer that pushes content. Do a 10-minute sweep across:
- Homepage
- One core landing page
- Blog index + one post
- Contact / lead capture page
- Checkout/cart (if eCommerce)
Open each in an incognito window and look for “template drift”: spacing changes, missing icons, typography inconsistencies, or layout shifts after load.
3) Fix the silent conversion killers: forms, buttons, and tracking
Most sites lose leads for one of three reasons: the form doesn’t submit, the thank-you flow doesn’t load, or tracking is broken so you can’t see what’s happening.
Form checks
- Submit your primary form from desktop and mobile.
- Confirm the email/CRM receives the lead.
- Test validation messages (required fields, email format).
- Confirm the thank-you message/page appears reliably.
Tracking checks
- Verify your analytics loads (and isn’t blocked by mixed content).
- Confirm events fire for key CTAs (primary buttons, form submit).
- Check that ad pixels aren’t duplicating (double-firing events is common).
Templatez note: a clean template system makes these tests faster because your CTA blocks and form sections are reusable. If you’re rebuilding forms/CTAs on every page, you’ll miss something eventually — use reusable sections or start from templates designed to be consistent.
4) Page speed maintenance: check performance at the template level
If your site is built with a theme builder, performance is often decided by a few repeatable choices: fonts, icons, hero sections, sliders, and how many widgets you load above the fold. Before launch, do a quick pass on:
- Hero section weight: compress images, avoid autoplay video unless essential.
- Fonts: limit families/weights; use system font stacks where appropriate.
- Icons: avoid loading entire icon libraries if you use a handful.
- Animations: keep them subtle; avoid multiple entrance animations above the fold.
- Third-party scripts: chat widgets and heatmaps are frequent culprits.
For a fast sanity check, run a lighthouse-style test and compare mobile vs desktop results. If mobile is much worse, your template is probably heavy above the fold.
5) Prevent layout shift: audit images, embeds, and dynamic sections
Layout shift makes sites feel cheap and hurts UX. Templates often introduce it via:
- Images without explicit dimensions
- Embeds (YouTube, maps) that resize after load
- Lazy-loaded sections that pop in late
- Web fonts swapping late
Fixes are usually simple: set image sizes, reserve space for embeds, and avoid stacking multiple dynamic elements near the top of the page.
6) Accessibility quick wins that templates commonly miss

Accessibility doesn’t need to be perfect to be valuable. Before launch, hit the highest-return checks:
- Buttons and links have clear, specific text (not “Learn more” everywhere).
- Contrast is readable (especially on hero images).
- Headings are in a logical order (H2s for sections, H3s for sub-sections).
- Forms have labels and helpful error messages.
- Keyboard navigation works for menus and popups.
If you’re using Elementor, double-check that icon-only buttons have accessible labels, and that your mobile nav is usable without perfect pointer accuracy.
7) SEO essentials: the template-level checklist
On WordPress, the fastest SEO wins are structural. Before launch, confirm:
- Each page has a unique meta title + description (no defaults everywhere).
- Only one H1 exists (WordPress title). Your content should start with H2s.
- Internal links exist to key pages: Templatez, blog, and your core conversion pages.
- Images have descriptive alt text where it matters (especially product/feature visuals).
- Indexing settings are correct (no accidental “noindex” on production).
Template tip: If you build pages from reusable sections, bake in SEO-friendly defaults: a “FAQ block” section, a “related templates” section, and a “next step” CTA section that you can drop in anywhere.
8) Security basics you can do in under 30 minutes
You don’t need to become a security engineer to reduce risk dramatically. Before launch (and then monthly), do these:
- Use strong admin passwords and enable 2FA if available.
- Remove unused plugins/themes (inactive still adds attack surface).
- Limit admin accounts to the minimum.
- Ensure backups are scheduled and stored off-site.
- Confirm SSL is active and there are no mixed-content warnings.
If your template workflow involves importing kits or starter sites, be extra careful about leaving demo users, sample forms, or outdated plugins installed.
9) Content QA: the “copy + layout polish” pass
Template-based pages often ship with placeholder copy, inconsistent spacing, and leftover lorem ipsum. Before launch, do one focused pass:
- Check every section headline communicates a benefit (not just a label).
- Ensure CTAs match intent (e.g., “Get the template” vs “Contact us”).
- Remove redundant sections (most templates are overbuilt by default).
- Normalize spacing between sections and ensure mobile padding feels intentional.
- Make sure testimonials/case studies are real (or remove the section).
If you want a faster baseline, start from a template designed for conversion and then cut what you don’t need. That’s usually better than starting from a blank canvas.
10) Browser + device checks (minimum viable QA)
You don’t need to test 40 devices. But you do need to catch obvious breakage:
- Chrome (desktop + Android emulation)
- Safari (especially iOS Safari if your audience is mobile-heavy)
- One “small phone” breakpoint and one “tablet” breakpoint
Focus on navigation, sticky elements, popups, and forms. Those are where template CSS conflicts show up first.
11) The post-launch cadence: keep it lightweight (weekly + monthly)
Maintenance works when it’s sustainable. Here’s a simple cadence that fits most small to mid-sized WordPress sites:
Weekly (15–30 minutes)
- Check uptime and critical pages.
- Review recent plugin/theme updates; apply low-risk updates.
- Test the primary form flow once.
Monthly (60–90 minutes)
- Apply higher-risk updates on staging first (Elementor/theme major releases).
- Run a performance spot check on top pages.
- Review security logs and remove unused plugins/themes.
12) Make maintenance easier by designing your templates like a system
The biggest unlock is treating your site like a set of reusable components. When your header, footer, CTAs, and section blocks are standardised, maintenance becomes “update once, fix everywhere.”
- Create a reusable CTA block for lead magnets or product browsing.
- Build a section library (hero, features, social proof, pricing, FAQ).
- Use global styles so typography and colours update centrally.
If you want to speed this up, pick a template set that already follows a consistent design system, then adapt it to your brand. Start by browsing templates and saving a small shortlist you can reuse across campaigns.
FAQ
Do I need a staging site for every WordPress update?
Not for every update. Use staging for major theme/builder updates and any change that affects templates globally. For minor plugin patches, a backup + quick check may be enough.
Why do my Elementor layouts look different after an update?
Builder updates can alter widget markup, CSS priorities, or defaults. That’s why a template integrity sweep (header, footer, key pages) should be part of your routine.
What’s the fastest way to improve WordPress speed without a rebuild?
Start at the template level: reduce heavy hero sections, limit fonts, remove unnecessary widgets, and defer non-essential scripts. Then tackle caching and image optimisation.
How often should I test my forms?
Weekly if leads matter. A broken form can cost more than any other single issue, and it’s easy to miss if you only look at traffic.
Should I keep unused plugins installed but deactivated?
Usually no. Unused plugins increase your attack surface and make troubleshooting harder. Remove what you don’t need (after confirming you won’t lose content or shortcodes).
Next step: turn this checklist into a reusable launch template
If you run this checklist more than once, you should turn it into a reusable SOP and a reusable page kit. Save a “launch QA” page in your project docs, and standardise your sections so maintenance is mostly a rinse-and-repeat process.
When you’re ready to build your next page faster, start from proven layouts and customise them: browse templates for conversion-ready sections, and if you’re building with Elementor, keep your global styles tight so every new landing page looks intentional.